How to Swatch Nail Polish for True Color
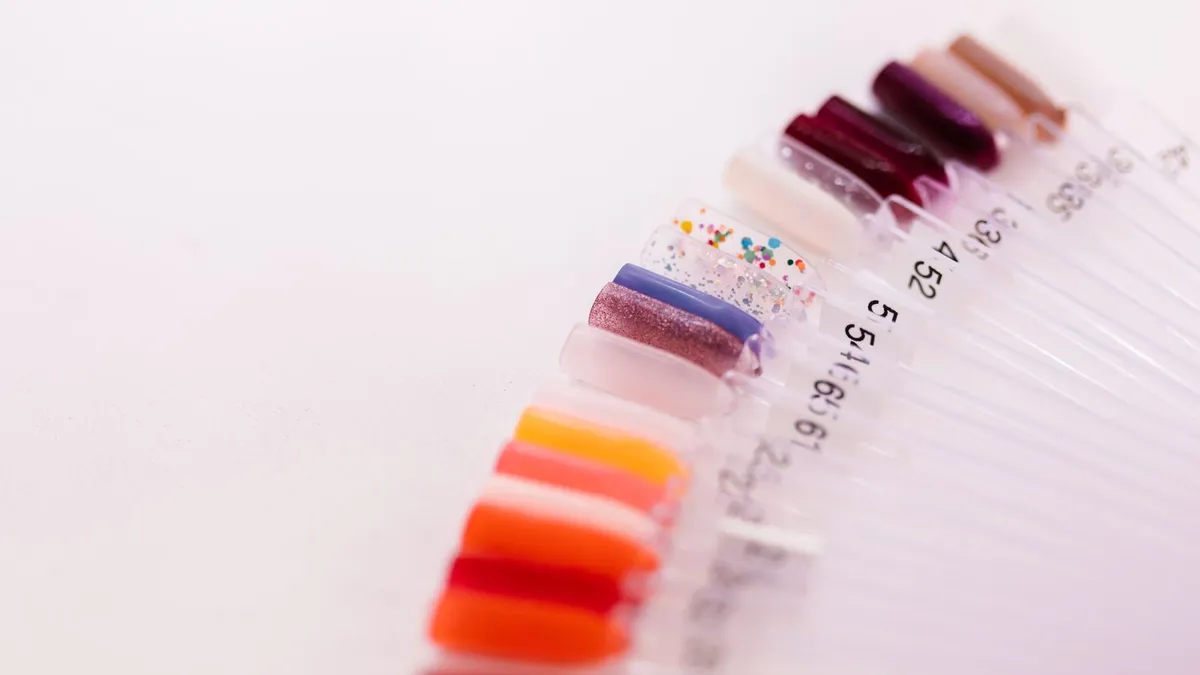
The single most common complaint about cataloging a collection: the photo never looks like the real color. Fix the lighting and the surface and your swatch photos finally tell the truth.
Shoot the swatch, not the bottle
A bottle is the worst reference there is, the glass, the cap and the light through the liquid all distort the shade. Photograph the polish where it actually lives: on a nail, or on a swatch stick. Two coats, so the color reads true (one coat lies, especially for jellies and shimmers). If you swatch on sticks, here is how to make and number them.
Daylight wins, every time
Indoor bulbs throw a color cast, warm yellow bulbs make everything look warmer than it is. Shoot near a window in soft, indirect daylight. Avoid direct sun too: it blows out shimmer and adds harsh shadows. An overcast day is honestly perfect light for swatches, a point Starrily makes in its nail photo guide too.
Use a plain, neutral background
A colored or busy background bounces its own tint onto the polish and fights for attention. A plain white or light grey surface keeps the color accurate and your photos consistent. Fill the frame with the nails, you are documenting a shade, not staging a scene.
Keep your phone honest
- Turn the flash off, it flattens the color and kills shimmer.
- Tap to focus on the nail, and lock the exposure so the phone stops auto-brightening.
- Wipe the lens. A smudge softens everything and dulls the color.
Resist the urge to edit
A filter or a bump of saturation makes a pretty post and a useless reference. The whole point of a swatch photo is that it matches what you will see on your hand. Shoot it right and leave it alone. At most, a tiny brightness nudge to match what your eye sees.
Be consistent
Photograph in the same spot and the same light each time. Consistency is what lets you trust the photos against each other, comparing two shades only works if both were shot the same way.
Further reading: expert nail photography tips (SoNailicious).