How to Photograph Nail Polish Bottles at Home (No Lightbox Needed)
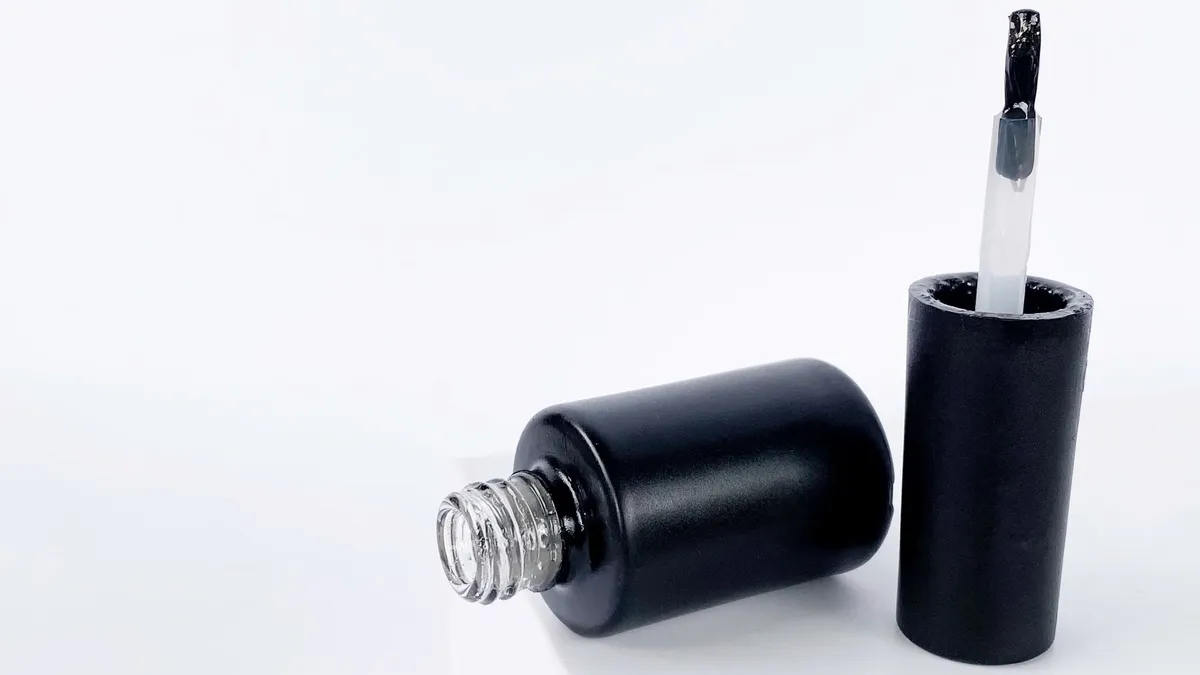
A swatch photo tells you the true color; a bottle photo tells you which bottle to grab off the shelf. Both earn their place in a catalog, and a clean, consistent bottle shot makes your collection scannable at a glance. The good news: you don’t need a lightbox or any gear to take one.
(If it’s the color you’re trying to capture accurately, shoot the swatch instead, that’s a different job, covered in how to photograph your nail polish so the color is true. This one is about the bottle.)
The no-lightbox setup
A lightbox just does two things: spreads soft light from several directions and gives a clean white background. You can fake both with what’s already in your kitchen or bathroom, and EssentialPhoto covers the lighting side in more depth.
- 1Pick a room with multiple lights. A kitchen or bathroom with several ceiling bulbs is ideal, light coming from more than one direction is what kills harsh shadows.
- 2Lay the bottle on something white. A sheet of paper, a white box lid, anything plain. The clean background is what makes the bottle pop and stays consistent across every shot.
- 3Shoot from directly above. A flat top-down angle keeps the label readable and the bottle shape true.
The trick that kills shadows: zoom in
The usual problem with a phone photo is your own hand casting a shadow over the bottle. The fix is counter-intuitive: zoom in to 3x on your phone, then hold it higher above the bottle. At that zoom the camera is far enough away that neither it nor your hand throws a shadow, and the bottle still fills the frame.
Leave a little space around the bottle so you don’t accidentally crop off the cap. You can always trim it tighter afterward; you can’t add back a corner you cut.
Small things that make it look pro
- Hold the bottle in place. A tiny bit of poster tack or putty under the base stops it rolling and keeps it upright for a clean top-down shot.
- Turn the flash off. A direct flash blows out the glass and throws a hard reflection. The ambient room light is softer and truer.
- Wipe the lens and the bottle. A smudge on either one dulls the whole shot. Quick wipe, sharper photo.
- Keep it consistent. Same spot, same light, same angle every time, and your collection reads as one tidy grid instead of a jumble.
Why a bottle shot is worth the few seconds
When you’re scrolling your collection to decide what to wear, or standing at the shelf hunting for one specific bottle, the cap and label are what your eye recognizes, faster than reading a name. A consistent bottle photo turns your catalog into something you can skim like a contact sheet. Pair it with a swatch photo for the true color and a numbered swatch stick for finding it in a drawer, and every shade is covered three ways.
Further reading: five tips for good nail photos (Picture Polish).